Augmented Reality (AR) is reshaping interactions between digital and physical worlds, offering exciting opportunities for developers. ARwayKit provides a comprehensive toolkit for those looking to create immersive AR experiences. This guide will walk you through the essential steps to develop and publish your first AR application using ARwayKit.
Setting Up Your Development Environment:
Starting your AR development journey requires a solid foundation. Here’s how to prepare:
- Install Unity: As the backbone for many AR applications, Unity is crucial for your development. Start by downloading Unity Hub and the Unity Editor, making sure they are compatible with ARwayKit. Unity Download Page
- Download ARwayKit: Access the SDK through ARway’s GitHub page or their official website. This kit includes essential assets and scripts for your AR development.
Creating a New Unity Project:
Setting up your project correctly is fundamental:
- Start a New Project: Open Unity Hub and create a new project, opting for a 3D template to ensure you have the right base for an AR application.
- Configure Your Project: Name your project and select a storage location on your system that allows for easy access and management.
Integrating ARwayKit:
To bring AR capabilities into your project, integrate the ARwayKit:
- Import the SDK: Within Unity, go to Assets > Import Package > Custom Package and choose the SDK file you downloaded.
- Install Dependencies: Unity may prompt you to install additional dependencies; follow these prompts to ensure a smooth setup.
Configuring ARwayKit:
Proper configuration connects your project with ARway’s cloud services:
- API Credentials: Retrieve your Account ID and Secret Key by registering on the ARway Creator Portal.
- SDK Settings: Enter these credentials in ARwayKit settings panel within Unity to authenticate and activate the SDK’s features.
Developing and Customizing Your AR Application:
With everything in place, start building your AR experience:
- Explore Sample Scenes: ARwayKit includes several sample scenes that demonstrate the SDK’s capabilities. Use these as a learning tool and inspiration.
- Customize Your Content: Enhance the sample scenes or build your own from scratch by integrating 3D models, interactive elements, and custom UI components.
Testing and Debugging:
Ensure your app works flawlessly across different devices:
- Build and Test: Regularly compile your application and test it on various devices to ensure compatibility and performance.
- Iterate Based on Feedback: Utilize feedback from testing phases to refine and improve the application’s functionality and user experience.
Publishing Your Application:
When you’re ready to share your AR application with the world:
- Prepare for Deployment: Optimize your app for different platforms, ensuring it meets all technical requirements.
- Submit Your App: Follow the submission guidelines for platforms like the Google Play Store or Apple App Store to get your app published.
Conclusion
Using ARwayKit, developers have access to powerful tools to create detailed and interactive AR experiences. By following this guide, you can build an AR application that stands out in the growing AR landscape.
Contact Us
Start your AR development journey with ARwayKit today! For more detailed guides and resources, visit ARway SDK Documentation, and connect with a community of innovative AR developers.
About ARway.ai by Nextech3D.ai
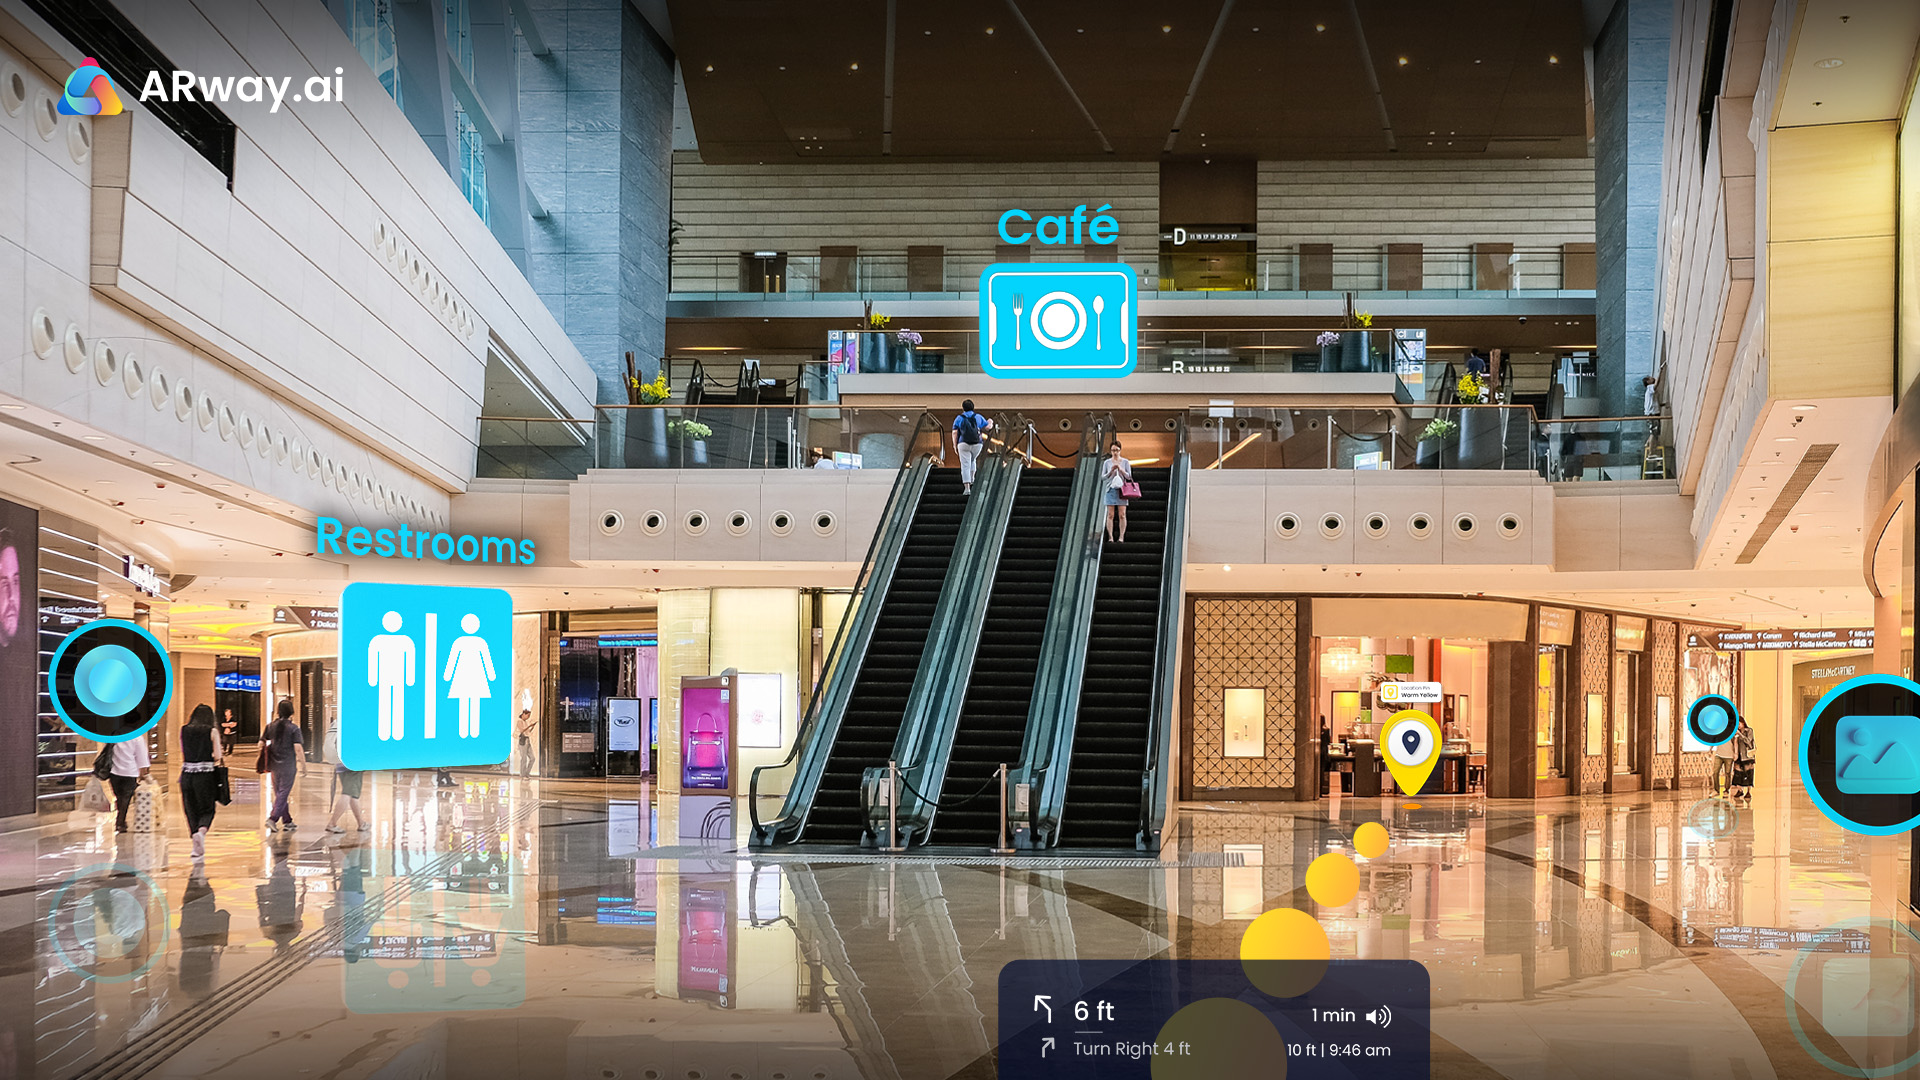
ARway.ai is a powerful, no-code spatial computing platform that melds the real and the virtual into a seamless experience. One of its powerful features includes navigation and wayfinding that facilitates the creation of robust AR navigation with accurate positioning, digital directory, turn-by-turn, and optimized routes.


